Accepting EBT can feel intimidating the first time you look into it—new rules, new equipment, new checkout steps, and a lot of “where do I even start?” questions. But once you understand what’s required and you build a simple, repeatable workflow, it becomes just another payment type your team can handle confidently.
I’ve helped retailers of all sizes get authorized, install the right setup, and train staff so EBT runs smoothly on day one—not “eventually.” This guide is built for real-world store life: busy lines, mixed baskets, tricky split payments, connectivity hiccups, returns, cashier turnover, and those moments when customers aren’t sure what’s eligible.
By the end, you’ll have a clear path to accept EBT payments in your store—from eligibility and application to terminals/POS, item setup, staff training, go-live, and ongoing compliance. You’ll also get operational checklists, a 30-day “get it live” plan, and a 90-day optimization plan you can actually follow.
What EBT Is and What It’s Used For
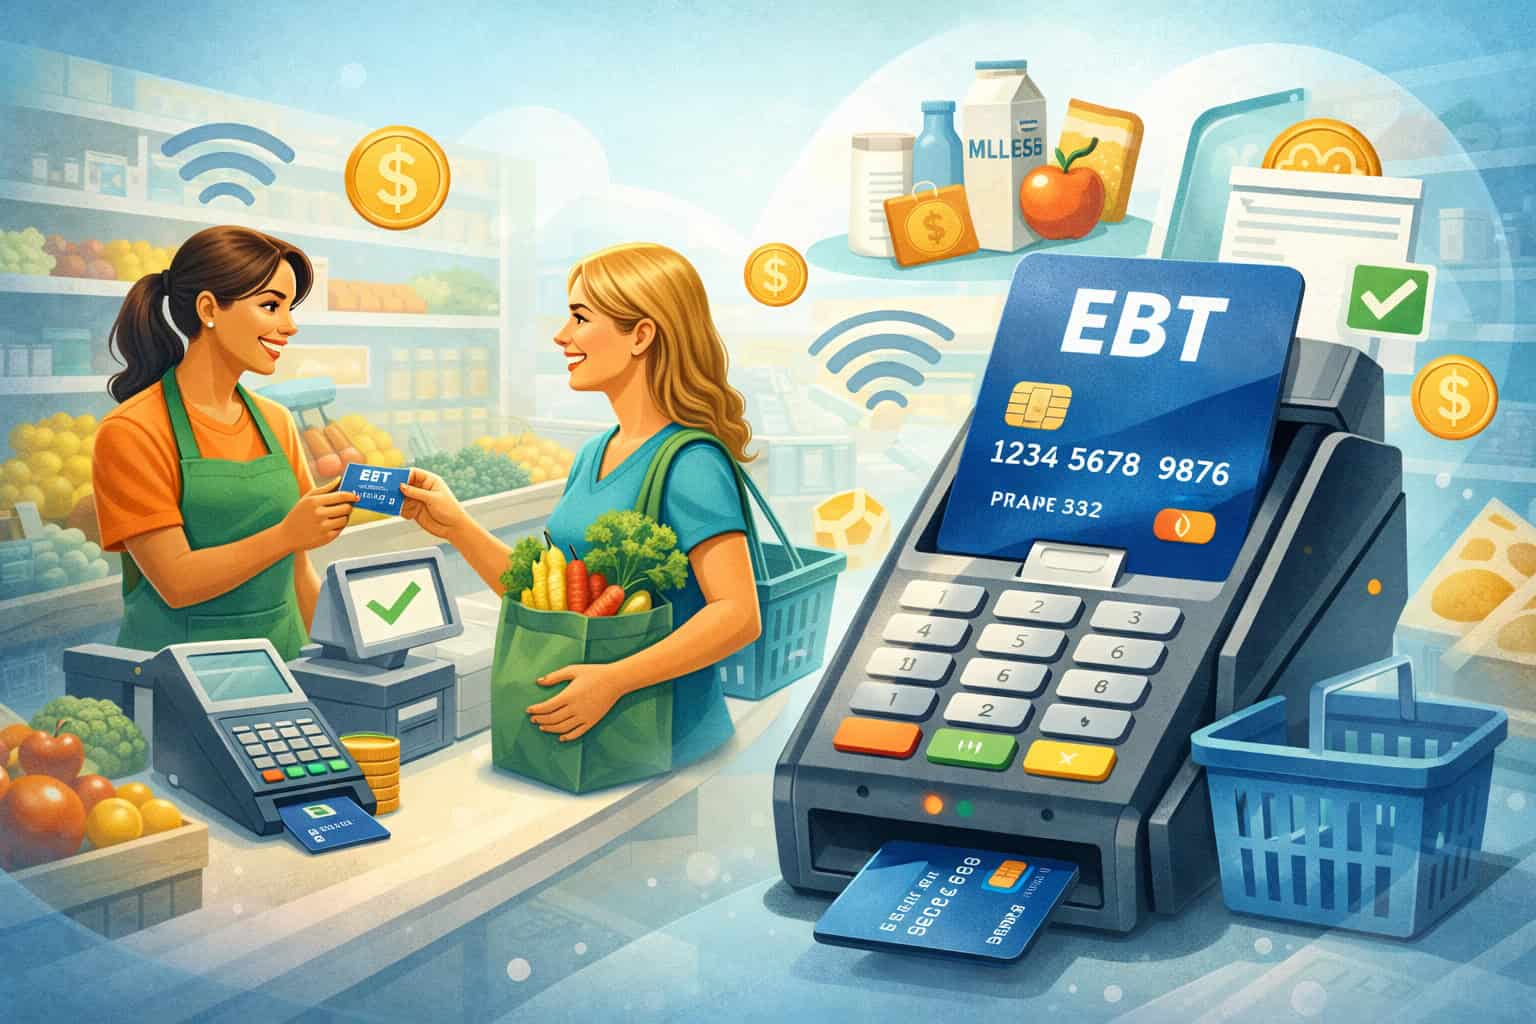
EBT stands for Electronic Benefits Transfer. In simple terms, it’s a card-based way for eligible shoppers to access approved public benefit funds at checkout, similar to how a debit card works—except the spending rules are different, and the “basket” must be screened for eligible items.
Most retailers associate EBT with SNAP EBT, which is used to purchase eligible foods. When your store accepts SNAP EBT, you’re allowing customers to use those benefits to pay for approved grocery items. The customer typically enters a PIN, the system checks eligibility, and the transaction approves for the eligible portion of the basket.
Some areas also support other benefit programs through EBT, which can include cash benefits. The handling can vary depending on the program and the store’s authorization type.
That’s why you’ll hear terms like retailer authorization, EBT retailer application, and FNS number (an identifier issued during authorization). Think of your authorization as the “permission slip” that lets your store route eligible benefit transactions through the proper network.
EBT isn’t just “another card.” It’s a regulated acceptance program with rules around what can be sold, how transactions are processed, and how you handle receipts, returns, and records.
The good news is that the day-to-day workflow can be straightforward once your POS system and item setup are correct and your staff has a consistent script.
Who Should Accept EBT and Why It’s Worth It
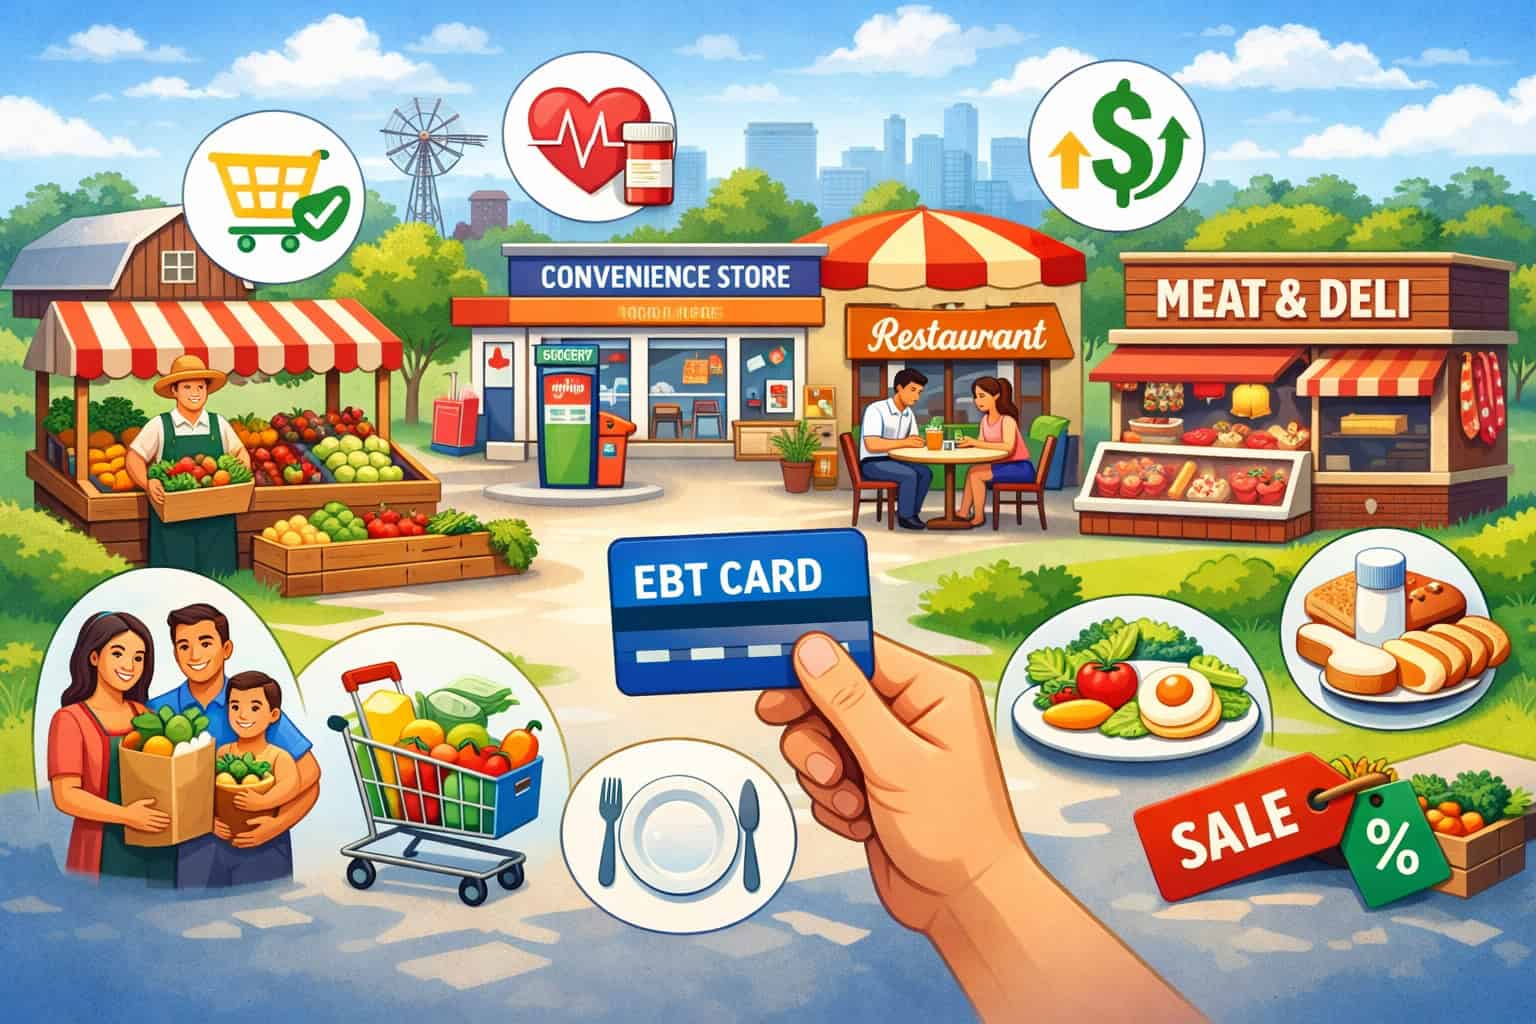
If you sell everyday food items, there’s a good chance your store could benefit from learning how to take EBT payments. EBT acceptance is common across a wide range of store types, including:
- Grocery stores and neighborhood markets
- Convenience stores (especially those with staple food inventory)
- Specialty food shops that sell qualifying packaged foods
- Small retailers with refrigerated/frozen sections
- Farmers market EBT setups (often through market-wide terminals or authorized vendor approaches, depending on local structure)
Why should you accept EBT payments in store if you already take cards and mobile wallets? Because it can unlock a reliable customer segment and support consistent sales of core grocery items. Many shoppers plan their purchases around benefit timing, which can make demand steadier than purely discretionary spending.
Retailers also see practical benefits beyond sales. Accepting SNAP EBT can improve accessibility for the community you serve. It can also build trust—customers notice when a store invests in the tools to serve them respectfully and efficiently.
And from an operations perspective, EBT transactions can be fast at checkout when your POS is configured correctly, with clear receipts and a predictable workflow.
EBT can be especially impactful for small stores competing with larger retailers. If you stock the right eligible foods and train cashiers to handle split tender smoothly, you can capture baskets that otherwise go elsewhere.
EBT Acceptance Requirements for Stores: What to Know Before You Apply

EBT acceptance requirements for stores are real—but they’re not one-size-fits-all. Requirements can vary based on store type, inventory mix, how the store is owned/operated, and the approval authority that authorizes retailers for the program.
That’s why you should always confirm current rules and documentation needs with the official program/authorizing agency before you submit anything, especially if your store is new, recently purchased, or changing ownership.
At a high level, most retailer authorization processes focus on these categories:
- Your store’s identity and legitimacy: business registration details, location information, and ownership/management info
- Your inventory and eligibility: whether you stock qualifying food categories and maintain consistent availability
- Your ability to process EBT securely: appropriate terminal/POS capability, connectivity, and PIN entry handling
- Your compliance readiness: agreeing to follow item eligibility rules, receipt requirements, and recordkeeping expectations
You’ll also hear about an EBT retailer application and an FNS number (or similar identifier) issued upon approval. This identifier matters because it ties transactions to your authorized location. If you have multiple locations, each may require separate authorization and its own setup.
Be careful with assumptions here. For example, a small convenience store may need to show it stocks a minimum variety of eligible food staples, while a different store type may have different standards or documentation expectations.
The most common causes of preventable delays are missing documents, inconsistent business details, unclear ownership information, and inventory documentation that doesn’t match how the store actually operates.
Step 1: Confirm You’re Eligible to Apply
Before you spend time comparing terminals or calling processors, confirm that your store is eligible in practice, not just in theory. Eligibility usually centers on whether you operate a qualifying retail food business and whether you maintain a consistent selection of eligible foods.
Start by reviewing your current inventory. Ask yourself:
- Do we sell everyday food items that typically qualify as eligible foods?
- Do we have staple categories consistently stocked (not just occasionally)?
- Do our shelves, coolers, and freezers reflect “real” grocery availability?
This matters because approval isn’t about what you intend to stock—it’s typically about what your store demonstrates today, or what you can document clearly as part of a new store setup.
You should also consider how your store operates:
- Is the store open to the public with consistent hours?
- Is the location stable (not temporary unless your local rules accommodate markets)?
- Do you have clear ownership/management control and a defined business entity?
If you’re a market vendor or a farmers market EBT participant, eligibility can be handled differently. Some markets use a central terminal model, while others support individual vendors becoming authorized retailers. Either way, the path is doable—it just changes the paperwork and the equipment model.
Finally, confirm whether you’re applying for one location or multiple. Each location should be treated like its own compliance environment: item files, terminals, receipts, and staff training.
Step 2: Gather Documents and Store Details Before You Start the Application
The fastest approvals come from retailers who submit a complete, clean application package the first time. Even if your exact document list varies by store type and approval authority, you can prepare the core “store identity” and “store operation” info in advance.
Here’s what you’ll typically want ready:
- Legal business name and any “doing business as” name used on signage
- Physical store address (and mailing address if different)
- Ownership details and management contact information
- Business registration documentation (as applicable)
- Tax identification information (as applicable)
- Lease or proof of occupancy (as applicable)
- Store hours and contact phone number
- Photos that show store layout and inventory sections (often helpful even when not explicitly requested)
You’ll also want to document your inventory approach. You don’t need to write an essay—just be prepared to describe what you regularly stock and how you keep staple categories available.
Operationally, gather these details too:
- Your current POS system setup (if you have one)
- Whether you want countertop EBT terminal vs integrated POS
- Your internet/connectivity type (wired, Wi-Fi, cellular backup)
- Your receipt printer situation (integrated or standalone)
Getting these organized upfront prevents the most common delay: having to pause mid-application to locate documents, clarify ownership details, or correct mismatched store names/addresses.
Step 3: Submit the Retailer Application and Know What to Expect
Once you confirm eligibility and have documents ready, it’s time to submit the retailer application. The application process is usually straightforward, but there are a few points that catch retailers off guard.
First, the application is not just a form—it’s a validation process. The authorizing agency wants to confirm that:
- Your store exists and is operating as described
- Ownership/management information is clear and consistent
- Your store type and inventory align with program expectations
- The location and identity details are accurate and verifiable
During the review, you may receive requests for additional documentation or clarifications. That doesn’t necessarily mean something is wrong—it often means the reviewer needs a clearer record.
When completing the application:
- Use consistent naming (exact legal name vs DBA—don’t mix them casually)
- Enter your address exactly as it appears on official documents
- Provide a reliable contact email/phone that gets answered quickly
- Don’t “overpromise” inventory you don’t actually stock yet
If you’re purchasing a store or changing ownership, be extra careful. Retailer authorization is often tied to the specific ownership entity and location, and changes can trigger additional steps. Verify how ownership changes should be handled with the authorizing agency to avoid processing EBT under the wrong authorization.
After approval, you’ll typically receive an identifier like an FNS number and instructions or confirmation details that allow you to set up EBT payment processing for retailers through a supported terminal or POS path.
Step 4: Approval Timeline Factors and How to Avoid Delays
Approval timelines can vary. Rather than chasing a specific number of days, focus on what you can control: reducing “touches” on your application. Every time a reviewer has to request clarification, your timeline stretches.
Here are common factors that slow things down:
- Missing or unclear ownership/management details
- Mismatched store name/address across documents
- Incomplete business documentation
- Inventory photos that don’t show staple categories clearly
- New stores that aren’t fully stocked yet
- Multiple locations submitted with inconsistent details
To avoid delays, do a quick pre-submit audit:
- Does the store name match signage and documents?
- Is the address formatted consistently everywhere?
- Are photos clear, current, and show eligible food sections?
- Is your primary contact reachable and responsive?
If your store is new, stock your staple categories before you apply. If your store is seasonal or market-based, confirm the correct application path for that store structure.
Also plan your equipment timeline. Some retailers wait for approval before ordering terminals or POS upgrades; others prepare in parallel. Either approach is fine as long as you don’t install an EBT workflow that can’t be used yet. Your goal is to be ready to go-live soon after authorization—without rushing setup.
Step 5: Choose Your EBT Processing Option: Terminal vs Integrated POS
Once you’re moving toward approval—or immediately after you’re authorized—you’ll choose how you’ll process EBT at checkout. There are two common paths:
Countertop EBT Terminal (Standalone)
A standalone EBT terminal is a dedicated device for EBT (and sometimes other transaction types, depending on configuration). It’s often quicker to deploy and doesn’t require deep POS integration. Cashiers ring up items on the register, then run the EBT portion on the terminal.
This is a practical option for many small retailers because it reduces POS complexity. However, it can require more cashier steps—especially for split tender—and it relies heavily on staff accuracy when separating eligible foods from non-eligible items.
Standalone terminals can be reliable when paired with stable internet or a cellular option. Receipt handling is also important: you may have a separate receipt from the terminal plus your register receipt, and customers may need both.
Integrated POS System (EBT Built Into Checkout)
An integrated POS system can automatically separate eligible items and prompt for SNAP EBT payment during the same workflow as other payment types. This reduces cashier confusion, improves speed, and creates clearer receipts.
The tradeoff is that integration requires correct inventory setup and product eligibility mapping. If your item file isn’t maintained, you can see misclassified items, rejected EBT baskets, and longer lines.
Integrated setups are often best for higher-volume stores, multi-lane checkout, or retailers with frequent mixed baskets.
Terminal and POS Setup: Hardware, Connectivity, Receipts, and Reliability
To accept EBT payments in your store smoothly, your equipment and connectivity matter as much as your approval. EBT transactions typically require PIN entry, so your setup must support secure PIN debit-style entry and reliable routing.
Hardware Basics You’ll Likely Need
Most stores will use some combination of:
- An EBT terminal with PIN pad
- A POS system (register software and hardware)
- A receipt printer (integrated or standalone)
- A stable internet connection (or supported connectivity method)
- Optional: barcode scanners, cash drawers, customer displays
Countertop terminals are typically placed where customers can enter their PIN privately without blocking the line. Integrated POS setups usually include a customer-facing PIN pad or device.
Connectivity Considerations
EBT requires reliable connectivity. If your connection is unstable, you’ll see timeouts and declines that frustrate customers and staff.
Best practices for reliability:
- Prefer wired internet where possible
- Use a dedicated network for payment devices if you can
- Keep Wi-Fi password changes controlled and documented
- Consider a backup option (if supported by your setup)
Receipt Requirements and Best Practices
Receipts are part of good customer service and compliance readiness. Even when not explicitly required for every step, clear receipts help resolve confusion about:
- What portion was paid by SNAP EBT
- What portion remains for other tender (split tender)
- Any remaining balance after the EBT portion approves
Make sure your receipt format is easy to understand. Train staff to hand customers the correct receipts every time, especially if you have separate terminal and register receipts.
Item Eligibility 101: Eligible Foods, Non-Eligible Items, and Inventory Setup
EBT success starts with item setup. When your POS or terminal workflow doesn’t align with what’s eligible, you get the worst kind of checkout friction: customers feeling embarrassed, cashiers feeling unsure, and lines backing up fast.
Eligible Foods vs Non-Eligible Items (Practical Overview)
SNAP EBT is generally used for eligible foods—items meant for home consumption. Many everyday grocery items qualify, but there are also non-eligible items in the typical convenience or market basket.
Non-eligible items often include:
- Household supplies and personal care
- Prepared hot foods (where applicable)
- Alcohol and tobacco products
- Non-food items (paper goods, cleaning items, etc.)
Because eligibility rules can have exceptions and can be interpreted differently depending on item type and local guidance, always verify current item rules with the official program/authorizing agency and your POS provider’s eligibility documentation.
Inventory Setup: How Stores Get It Right
If you have an integrated POS system, your item file should include eligibility flags. That means:
- Categorize products correctly (grocery vs non-food)
- Apply the correct tax and eligibility status
- Maintain ongoing updates when new SKUs are added
If you use a standalone terminal, you still need a cashier workflow for separating eligible foods from non-eligible items. That often means training cashiers to subtotal eligible items first, then run EBT, then ring the rest.
How EBT Transactions Work at Checkout: PIN Entry, Split Tender, and Workflow
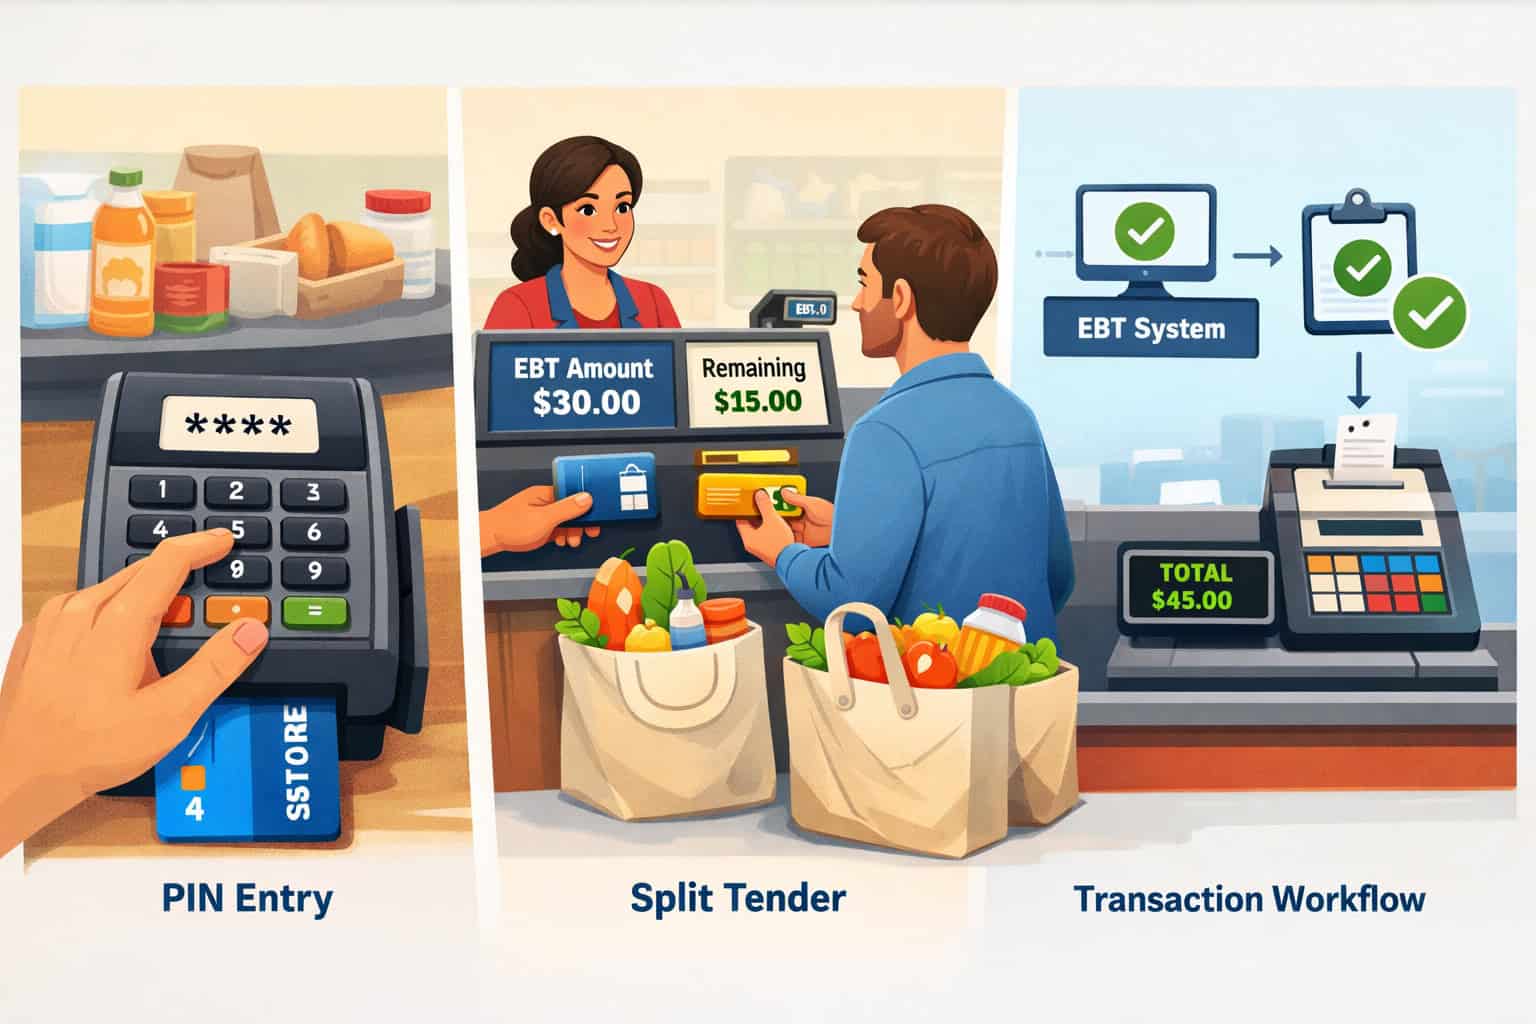
When someone asks “how to take EBT payments,” the real question is: “What exactly happens at the counter, and what do we do when the basket is mixed?” Let’s walk through the typical transaction workflow.
The Core Transaction Flow
In a standard EBT transaction:
- Cashier rings up items
- The system identifies eligible items (automatically in integrated POS, or manually via subtotal workflow in standalone setups)
- Customer swipes/taps/inserts the EBT card (depending on device)
- Customer enters their PIN
- The system requests authorization for the eligible amount
- Approval returns and the receipt prints
- Any remaining balance is paid using another tender if needed
Split Tender: The Most Common Real-World Scenario
Split tender simply means using more than one payment method for one purchase—like SNAP EBT for eligible foods and another payment method for the rest.
Split tender happens when:
- The basket includes non-eligible items
- The customer’s benefit balance doesn’t cover all eligible foods
- The customer wants to reserve some benefits for later purchases
The key to smooth split tender is clarity. Cashiers should be able to answer:
- “What did EBT cover?”
- “What’s still left to pay?”
- “Can I pay the rest with another method?”
Your POS and receipts should make these answers obvious.
What Customers Experience Matters
EBT transactions can be sensitive. Your job isn’t to police purchases—it’s to run a respectful, consistent checkout. Train staff to speak calmly, avoid judgmental language, and offer simple options when something isn’t eligible.
Fees and Costs: What Retailers Should Expect and How to Compare Providers
Retailers often worry about EBT fees, and that’s smart—you should understand your cost structure before you commit. The challenge is that costs can vary widely depending on your setup, provider, and whether EBT is bundled with broader payment services.
When evaluating EBT payment processing for retailers, think in categories rather than hunting for a single “rate.”
Common Cost Categories
You may encounter:
- Equipment costs: purchase or rental for an EBT terminal, PIN pad, receipt printer, or POS hardware
- Software fees: POS licensing, EBT module fees, or integration fees (if applicable)
- Monthly service fees: device management, support plans, or connectivity services
- Transaction-related fees: depending on your provider structure and services included
- Installation/training costs: sometimes included, sometimes separate
Not every provider charges in every category, and some roll multiple costs into a single bundled fee.
How to Compare Providers Without Getting Tricked by “Low Price”
A “cheap” option can become expensive if it causes downtime or staff confusion. Compare providers based on:
- Reliability and connectivity options
- Support responsiveness (especially evenings/weekends if you’re open late)
- Integration quality with your POS system
- Clarity of receipts and reporting
- Ease of handling split tender and refunds
- Contract flexibility and equipment replacement process
Also ask about timelines. Some providers can ship and deploy quickly; others have longer onboarding. Align the provider timeline with your authorization timeline so you’re not waiting weeks after approval to go live.
Staff Training That Actually Works: Cashier Scripts, Scenarios, and Confidence
A perfect terminal setup can still fail if the team doesn’t know how to run real baskets. Training should be short, practical, and scenario-based.
What Every Cashier Must Know
Train cashiers on:
- How to start an EBT transaction on your specific terminal/POS
- Where the customer enters their PIN
- How split tender works in your system
- What to do when an item is non-eligible
- How to handle declines and timeouts calmly
- Receipt handling (what to hand the customer, every time)
Use Simple, Respectful Scripts
Cashiers should never debate eligibility at the counter. Use simple language like:
- “Your EBT covered the eligible food items. The remaining balance is ___.”
- “That item isn’t eligible on EBT here. Would you like to pay for it with another method or remove it?”
- “If your EBT balance isn’t enough, we can pay the rest another way.”
Keep tone neutral and helpful. Avoid phrasing that sounds accusatory or embarrassing.
Practice With Real Examples
Run short roleplays using realistic baskets:
- Convenience store: milk, bread, eggs, plus toiletries
- Grocery: produce, pantry staples, plus a non-eligible household item
- Specialty shop: packaged foods plus a gift item
- Market: multiple items with mixed eligibility
Go-Live Steps: Signage, Receipts, Testing, and Troubleshooting
Going live is where planning becomes reality. The goal isn’t just “we have a terminal.” The goal is: every cashier can run EBT smoothly during a rush.
Before You Turn It On for Customers
Do these tests internally:
- Run an eligible-only basket test
- Run a mixed basket with split tender
- Run a basket where the customer pays part of eligible foods with another tender
- Verify receipts print clearly and show EBT-covered amounts
- Confirm the device connects reliably in your actual checkout environment
Also confirm who to call when something breaks. Write down:
- Provider support number
- Terminal/POS support number
- Store manager escalation process
- Basic troubleshooting steps (reboot, check connectivity, verify cables)
Signage and Customer Experience
Clear signage reduces confusion and awkward interactions. Place signs:
- At the entrance (optional but helpful)
- At the register
- Near the PIN pad or payment area
Signage should be clear and simple, not cluttered.
Troubleshooting Common Day-One Issues
Expect a few small bumps. The most common are:
- Connectivity drops
- Cashiers not following the correct split tender sequence
- Receipts not printing as expected
- Items misclassified in inventory
Have a manager available for the first few shifts, and empower cashiers to pause and ask for help without feeling pressured.
Compliance and Audit Readiness: How to Avoid Common Violations
Compliance doesn’t have to be scary. It’s mostly about consistency: sell eligible foods correctly, process transactions properly, keep receipts and records organized, and train staff to avoid common missteps.
Common Compliance Risk Areas
Retailers most often run into trouble with:
- Selling non-eligible items through EBT due to misconfigured POS
- Cashiers overriding eligibility incorrectly
- Inconsistent receipt handling
- Poor recordkeeping and inability to explain transaction patterns
- Confusion about returns and refunds
Because compliance expectations and enforcement practices can change and can vary by program and region, verify current guidance with the official program/authorizing agency and keep documentation handy.
Receipt Handling and Recordkeeping
Good recordkeeping protects you. Keep:
- Daily transaction summaries (as available in your POS/terminal reports)
- Receipts or electronic records according to your normal business practices and any program guidance
- Notes on significant downtime incidents and resolution steps
- Documentation of staff training and updates
Cashier Behavior Matters
Train staff on what not to do:
- Don’t guess eligibility when unsure—use the POS result and manager guidance
- Don’t “make it work” by changing item codes to force eligibility
- Don’t pressure customers to remove items—offer options neutrally
- Don’t discuss customer benefits beyond what’s needed for payment
Refunds, Reversals, and Chargebacks: What’s Applicable and How to Handle Them
Refunds are part of retail. EBT adds a few wrinkles because benefit funds are regulated and item eligibility matters.
Refunds and Returns (Practical Handling)
Your POS or terminal workflow may support:
- Full refunds on eligible items back to the EBT balance
- Partial refunds when only some eligible items are returned
- Returns involving mixed tender (where part was EBT and part was another method)
The exact steps vary by provider and POS system. The biggest operational rule is consistency: the refund method should match the original tender whenever possible, and your receipts should clearly show what happened.
Train staff to:
- Verify the original receipt
- Process the return using the correct workflow for EBT
- Provide the customer a clear return receipt
- Escalate to a manager for complicated split tender returns
Reversals vs Refunds
Sometimes a transaction needs to be voided or reversed shortly after it occurs—usually due to cashier error or immediate correction. Your equipment may support this within a limited window. Again, verify the exact process with your provider.
Chargebacks (If Applicable)
Traditional card chargebacks don’t always apply the same way to EBT, and processes can differ depending on the network and program structure. Instead of assuming, ask your provider:
- What dispute process exists, if any
- What documentation is required
- How to handle customer complaints about balances or declined items
Common Mistakes When Setting Up EBT and How to Fix Them
Even well-run stores make mistakes when they first start to accept EBT payments in your store. The key is recognizing issues quickly and correcting the system—not blaming the cashier or the customer.
Mistake 1: POS Misconfiguration of Eligible Items
Symptoms: eligible foods decline, or non-eligible items accidentally go through.
Fix: review item categories and eligibility flags, and audit your top-selling SKUs weekly for the first month.
Mistake 2: Staff Confusion About Split Tender
Symptoms: long lines, voids, customers paying twice, incomplete transactions.
Fix: train on one standardized sequence and post a small step card at each register.
Mistake 3: Inconsistent Receipts
Symptoms: customers don’t understand what was paid, managers struggle with returns.
Fix: adjust receipt settings and run test transactions until the output is crystal clear.
Mistake 4: Connectivity Issues
Symptoms: timeouts, random declines, device offline.
Fix: move to wired connectivity, separate the payment network if possible, and document a quick reboot/checklist.
Mistake 5: Treating EBT Like “Just Another Card”
Symptoms: eligibility debates at the counter, uncomfortable customer interactions.
Fix: coach neutral scripts and make the POS do the eligibility work.
Realistic Examples: What Setup Looks Like by Store Type
Different stores can succeed with different setups. Here are realistic examples without assuming one “perfect” model.
Small Convenience Store
A small convenience store with one or two lanes often does best with either:
- A standalone EBT terminal plus a cashier subtotal workflow, or
- A basic integrated POS if the store has a stable SKU file and frequent mixed baskets
Focus inventory on consistent eligible staples and train staff heavily on split tender, since baskets often include non-eligible items like toiletries.
Grocery or Neighborhood Market
Higher volume and more lanes often justify integrated POS. The benefits:
- Automatic eligibility separation
- Faster lines
- Better reporting and easier returns
Your main job becomes item maintenance—keeping the inventory setup accurate as new products are added.
Specialty Food Shop
Specialty food shops can accept EBT if they sell qualifying packaged foods, but they often also sell non-eligible items like gifts or accessories. Split tender and cashier scripts matter a lot here.
Integrated POS is helpful if you sell many SKUs, but standalone can work if your eligible selection is smaller and well-managed.
Markets and Farmers Market EBT
Farmers market EBT setups vary. Some markets run a central booth where customers exchange benefits for tokens or receipts, while others support direct vendor acceptance. Your best path depends on your market structure and what the authorizing agency allows.
If you operate within a market, coordinate with market management early so your equipment choice matches the on-site process.
30-Day “Get It Live” Plan
If you want a practical plan to go from “thinking about EBT” to processing your first clean transactions, this is a realistic 30-day approach. Adjust as needed based on your approval timeline and provider onboarding.
Days 1–7: Prepare and Confirm Eligibility
- Review inventory and ensure staple categories are consistently stocked
- Take clear store and inventory photos
- Gather business and store documents
- Choose an internal owner for the project
- Draft your cashier workflow (integrated vs standalone)
Days 8–14: Application + Provider Selection
- Submit the retailer application (or finalize if already in progress)
- Compare providers based on support, reliability, receipts, and integration
- Confirm connectivity requirements and receipt setup
- Plan where equipment will physically sit at checkout
Days 15–21: Equipment Setup + Item File Prep
- Install terminal/POS and confirm connectivity stability
- Configure receipt settings
- For integrated POS: validate item eligibility mapping for top SKUs
- Create quick reference cards for staff (split tender steps, scripts)
Days 22–30: Train, Test, and Launch
- Train managers first, then cashiers
- Run test transactions and fix issues
- Add signage at checkout
- Go live during a period when a manager can be present
- Track issues daily and correct them immediately
90-Day “Optimize Operations” Plan
After launch, your goal shifts from “it works” to “it works flawlessly during a rush.” Here’s a 90-day optimization plan that improves speed, accuracy, and compliance readiness.
Days 1–30 After Launch: Stabilize
- Audit top-selling SKUs for eligibility accuracy weekly
- Track the top 3 causes of EBT delays (split tender, misclassified items, connectivity)
- Hold short weekly staff refreshers
- Ensure receipts are consistent and easy to read
- Document your troubleshooting steps
Days 31–60: Improve Speed and Reduce Errors
- Refine register prompts and receipt language (as supported by your POS)
- Create manager-only guidance for complex returns
- Adjust product placement to highlight eligible staples
- Improve signage clarity
- Consider connectivity upgrades if you see repeated timeouts
Days 61–90: Professionalize and Scale
- Build a monthly compliance routine and recordkeeping system
- Create new-hire training modules for EBT workflow
- Review provider support performance and escalate recurring issues
- If multi-location: standardize setup and training across stores
- Generate regular reports to spot anomalies and fix issues early
FAQ
Q1) What does it mean to accept EBT payments in your store?
Answer: It means your store is authorized to process eligible benefit transactions at checkout, using approved equipment and following eligibility and compliance rules. Customers pay using an EBT card and PIN for eligible items.
Q2) How do I know if my store can apply?
Answer: Start by confirming you sell qualifying food items consistently and operate as a legitimate retail location. Requirements vary by store type and approval authority, so verify current rules with the official program/authorizing agency.
Q3) What is an FNS number?
Answer: An FNS number (or similar identifier) is issued during retailer authorization and identifies your authorized store location in the system. It’s used to route and track EBT transactions to the correct retailer.
Q4) Do I need a special POS system to take EBT payments?
Answer: Not always. You can use a standalone EBT terminal, or an integrated POS system that supports SNAP EBT. The best choice depends on your transaction volume, basket mix, and ability to maintain item eligibility mapping.
Q5) What items are eligible foods and what items are non-eligible?
Answer: Eligible foods typically include grocery staples meant for home consumption, while non-eligible items often include household goods and other non-food products. Specific rules can vary, so confirm eligibility guidance with the official program/authorizing agency and your POS provider’s documentation.
Q6) How does split tender work with EBT?
Answer: Split tender allows EBT to pay for the eligible portion of the basket and another payment method to pay for the remainder. It’s common in mixed baskets and should be part of every cashier’s training.
Q7) What happens if the customer’s EBT balance isn’t enough?
Answer: Your system will approve up to the available eligible amount and leave a remaining balance. The customer can pay the remainder with another tender or remove items.
Q8) How do refunds work for EBT purchases?
Answer: Refund workflows vary by provider and POS system. Generally, returns should be processed using the correct tender method and documented with clear receipts. Train managers to handle complex split tender returns.
Q9) Are there chargebacks for EBT transactions?
Answer: Dispute processes can differ from traditional card chargebacks and may depend on program and network rules. Ask your provider what dispute process applies and what documentation is required.
Q10) What fees should I expect for EBT payment processing for retailers?
Answer: Costs can include equipment, software, monthly service, and sometimes transaction-related fees depending on the provider. Compare providers based on reliability, support, integration, receipts, and total cost—not just a headline price.
Q11) Can I accept EBT at a market or mobile setup?
Answer: Farmers market EBT models vary by market structure and local rules. Some use centralized terminals and token systems; others support direct vendor acceptance. Confirm the correct path with market management and the authorizing agency.
Q12) What should cashiers say when something isn’t eligible?
Answer: Use neutral, helpful language: “That item isn’t eligible on EBT here. Would you like to pay for it another way or remove it?” Keep it calm and matter-of-fact.
Conclusion
When you accept EBT payments in your store, you’re doing more than adding a tender type—you’re building a smoother, more inclusive shopping experience. The retailers that succeed don’t rely on luck. They align eligibility, item setup, equipment reliability, and staff training into one simple system.
If you remember only one thing: EBT problems usually aren’t “customer problems.” They’re setup problems—misclassified items, unclear split tender steps, weak connectivity, or inconsistent receipts. Fix the system, and your checkout becomes fast and respectful.